Why Grilled Chicken Fingers Are the Ultimate Crowd-Pleaser
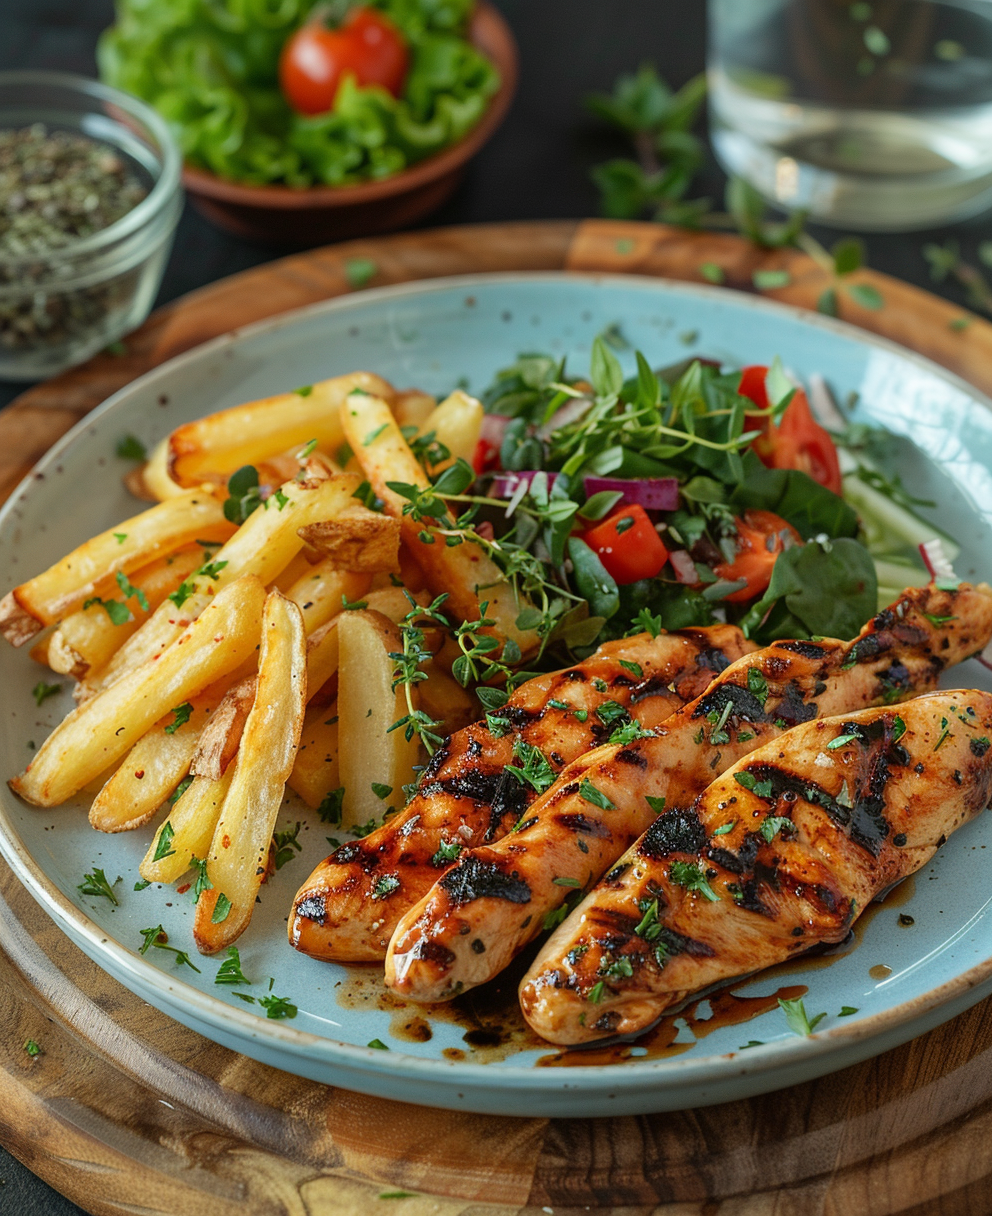
Let me tell you a little story. Last summer, I hosted a backyard cookout for my family and friends. As everyone mingled, I decided to whip up something simple yet satisfying. That’s when **grilled chicken fingers** saved the day. They were juicy, flavorful, and disappeared faster than I could say “yum.” Everyone raved about them, and I knew I had stumbled upon a recipe worth sharing. Whether you’re feeding picky kids or impressing guests, this dish is your golden ticket.
A Bite-Sized History of Chicken Fingers
Chicken fingers, also known as tenders, have been around for decades. Originally inspired by Southern fried chicken, they became popular in the 1980s as a kid-friendly snack. But let’s be honest—adults love them too! The beauty of grilled chicken fingers lies in their versatility. You can season them with bold spices, serve them with dipping sauces, or even toss them into salads. My version swaps frying for grilling, making it lighter while still packing tons of flavor.
Why You’ll Love This Recipe
This recipe is all about simplicity and taste. No fancy gadgets or hours in the kitchen needed. The smoky char from the grill pairs perfectly with the tender chicken inside. Plus, it’s healthier than frying but just as delicious. If you’re looking for a dish that’s quick, easy, and loved by all ages, grilled chicken fingers are your answer.
Perfect Occasions for Grilled Chicken Fingers
These aren’t just for weeknight dinners. Serve them at birthday parties, game-day gatherings, or casual barbecues. They’re also great for meal prep, so you can enjoy them throughout the week. Trust me, once you try these, you’ll find excuses to make them over and over again.
Ingredients
- 1 pound chicken tenders (about 8-10 pieces)
- 2 tablespoons olive oil
- 1 teaspoon garlic powder
- 1 teaspoon paprika
- 1 teaspoon onion powder
- 1/2 teaspoon black pepper
- 1/2 teaspoon salt
- 1 tablespoon lemon juice
- Your favorite dipping sauces (optional)

Substitution Options
- Swap chicken tenders for boneless, skinless chicken breasts cut into strips.
- Use avocado oil instead of olive oil for higher heat tolerance.
- Replace lemon juice with lime juice for a tangy twist.
- Try smoked paprika for an extra kick of flavor.
Preparation Section
Step 1: Prep Your Ingredients
Start by patting the chicken tenders dry with paper towels. This step ensures they get that beautiful sear on the grill. In a small bowl, mix together the olive oil, garlic powder, paprika, onion powder, black pepper, salt, and lemon juice. Rub this mixture evenly onto the chicken. The vibrant red-orange hue of the spice blend will make your mouth water before you even start cooking!
Step 2: Preheat the Grill
Fire up your grill to medium-high heat, around 400°F. If you don’t have a grill, a stovetop grill pan works wonders too. While it heats, take a moment to admire the sizzle-ready surface. Pro tip: Brush the grill grates with a bit of oil to prevent sticking. Nobody likes losing half their chicken to the flames!
Step 3: Grill the Chicken
Place the seasoned chicken fingers on the grill. Let them cook undisturbed for about 4-5 minutes per side. Keep an eye out for those gorgeous grill marks—they’re not just pretty; they add depth to the flavor. How long should you grill chicken tenders? Aim for 8-10 minutes total, depending on thickness. Internal temperature should reach 165°F for safe eating.
Step 4: Rest and Serve
Once done, transfer the grilled chicken fingers to a plate and let them rest for 2-3 minutes. This allows the juices to redistribute, keeping them moist and tender. What’s the secret to juicy tenders? Don’t skip this resting step! Serve with your favorite dipping sauces like ranch, honey mustard, or BBQ.
Chef’s Tip
To amp up the flavor, marinate the chicken in the seasoning mix for 30 minutes before grilling. It’s a small effort that makes a big difference.
Timing
- Prep Time: 10 minutes
- Cooking Time: 10 minutes
- Resting Time: 2-3 minutes
- Total Time: 25 minutes
Extra Info
Did you know chicken tenders come from the underside of the breast? They’re naturally more tender than other cuts, which is why they’re perfect for recipes like this one.
Necessary Equipment
- Grill or grill pan
- Tongs
- Meat thermometer
- Basting brush
Storage
Leftovers? Lucky you! Store grilled chicken fingers in an airtight container in the fridge for up to 3 days. Reheat them in the oven at 350°F for 5-7 minutes to retain moisture. Avoid microwaving, as it can make them rubbery.
If you want to freeze them, wrap each piece individually in plastic wrap and place them in a freezer-safe bag. They’ll keep for up to 3 months. Thaw overnight in the fridge before reheating.
For meal prep, pair them with roasted veggies or a fresh salad. They’re versatile enough to fit into any healthy eating plan.
Tips and Advice
What to season grilled chicken tenders with? Get creative! Add cayenne for heat or dried herbs like thyme for earthiness. Another pro tip: Use a meat thermometer to avoid undercooking or overcooking. Chicken should always hit 165°F internally.
Presentation Tips
- Serve on a wooden platter for a rustic vibe.
- Garnish with fresh parsley or cilantro for color.
- Arrange them in a circular pattern with dipping sauces in the center.
- Add lemon wedges for a pop of brightness.
Healthier Alternative Recipes
Looking to switch things up? Here are six variations:
- Baked Version: Toss the chicken with panko breadcrumbs and bake at 400°F for 15-20 minutes.
- Gluten-Free: Use almond flour or gluten-free breadcrumbs for coating.
- Low-Carb: Skip the breading altogether and focus on bold seasonings.
- Spicy Kick: Add chili flakes or hot sauce to the marinade.
- Herbaceous Twist: Mix in rosemary, basil, and oregano for a Mediterranean flair.
- Veggie Swap: Try zucchini or eggplant slices for a vegetarian option.
Common Mistakes to Avoid
Mistake 1: Overcrowding the Grill
Putting too many chicken fingers on the grill at once lowers the temperature and causes steaming instead of searing. Space them out for even cooking.
Mistake 2: Skipping the Thermometer
Guessing doneness by sight alone is risky. Invest in a meat thermometer to ensure safety and perfection every time.
Mistake 3: Neglecting Rest Time
Rushing to eat right off the grill leads to dry chicken. Give it those crucial few minutes to rest.
Mistake 4: Using Too Much Sauce
While sauces are tasty, drowning the chicken in them masks the natural flavors. Drizzle lightly instead.
FAQ
How Long Should You Grill Chicken Tenders?
Grill chicken tenders for about 4-5 minutes per side, or until the internal temperature reaches 165°F. Total cooking time is usually 8-10 minutes.
What’s the Secret to Juicy Tenders?
The key is not overcooking and letting the chicken rest for a few minutes after grilling. Marinating beforehand helps too.
What to Season Grilled Chicken Tenders With?
Season with garlic powder, paprika, onion powder, salt, and pepper. For variety, try adding herbs or spices like cayenne or thyme.
How Long Should Chicken Tenders Be Cooked at 400 Degrees?
At 400°F, chicken tenders need about 8-10 minutes total, flipping halfway through. Always check the internal temperature.
Can You Freeze Grilled Chicken Fingers?
Yes, freeze them individually wrapped in plastic wrap, then store in a freezer bag for up to 3 months.
Are Grilled Chicken Fingers Healthy?
Yes, they’re lower in fat than fried versions and packed with protein. Pair with veggies for a balanced meal.
What Dipping Sauces Go Best?
Classic choices include ranch, honey mustard, BBQ, or buffalo sauce. Experiment to find your favorite combo.
Can You Bake Instead of Grill?
Absolutely. Bake at 400°F for 15-20 minutes, flipping halfway through, for a similar result.
Do You Need to Marinate?
No, but marinating enhances flavor. Even 15-30 minutes makes a noticeable difference.
Can Kids Enjoy This Dish?
Kids love it! Serve with fun dips and sides like carrot sticks or apple slices for a complete meal.
Final Thoughts
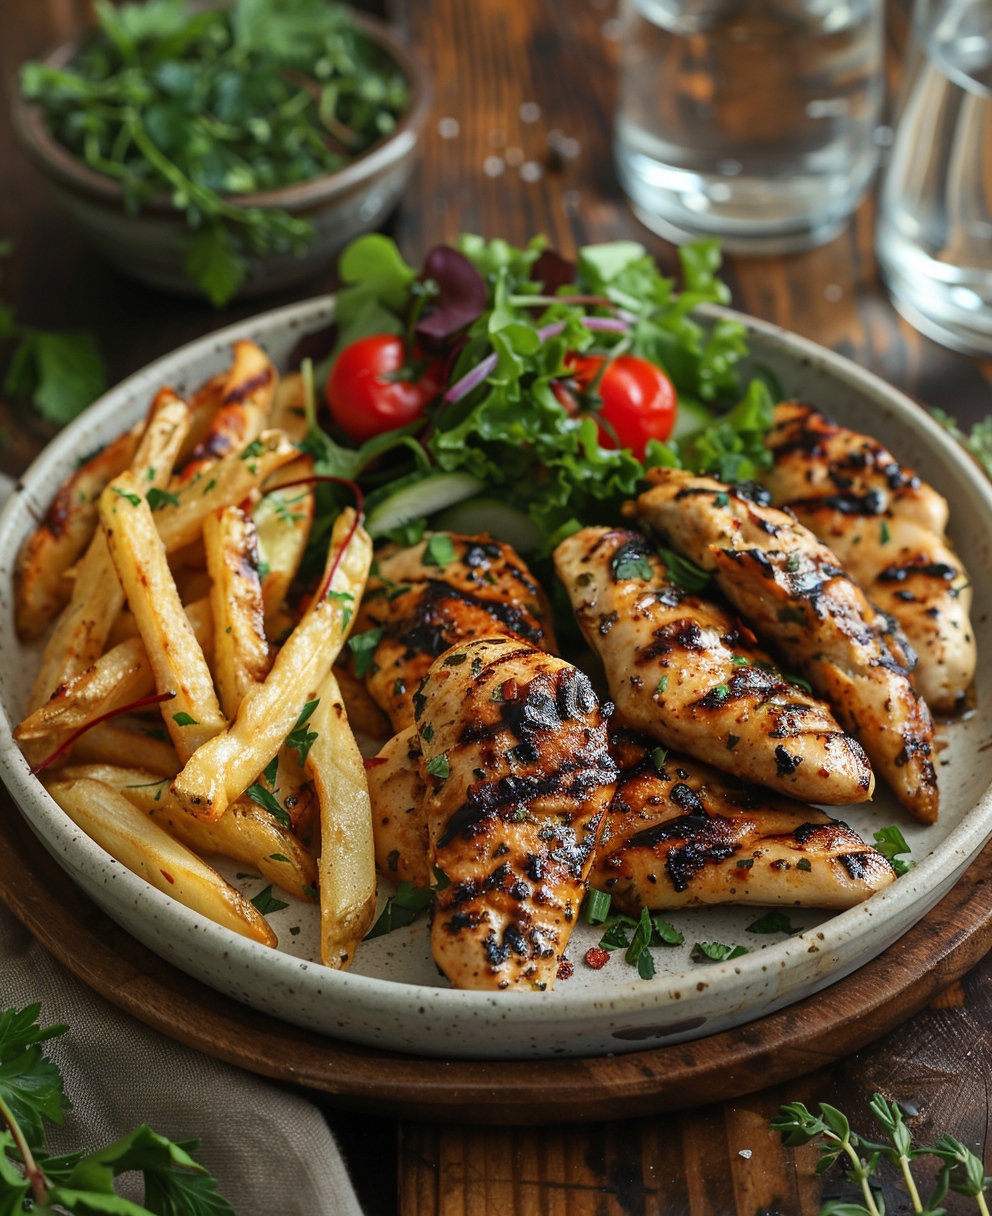
Grilled chicken fingers are a timeless classic that never disappoints. Whether you’re hosting a party or simply craving something tasty, this recipe delivers. With minimal effort and maximum flavor, it’s no wonder they’ve become a staple in my household. So fire up that grill, gather your ingredients, and get ready to wow your family and friends. Happy grilling!
src=”https://chickenrecipes.ozviral.com/wp-content/uploads/2025/09/grilled-chicken-fingers4-file.png” alt=”grilled chicken fingers”>
Grilled Chicken Fingers
Ingredients
Equipment
Method
- Pat the chicken tenders dry with paper towels.
- In a small bowl, mix together the olive oil, garlic powder, paprika, onion powder, black pepper, salt, and lemon juice.
- Rub the mixture evenly onto the chicken.
- Preheat the grill to medium-high heat (around 400°F).
- Brush the grill grates with a bit of oil to prevent sticking.
- Place the seasoned chicken fingers on the grill and cook undisturbed for about 4-5 minutes per side.
- Cook for 8-10 minutes total, until the internal temperature reaches 165°F.
- Transfer the grilled chicken fingers to a plate and let them rest for 2-3 minutes before serving.